

Room Refresh
Trim, Texture, and Color Drenching
Three years ago, I decided to completely remodel my bedroom. I had already rearranged my room in every possible way so I was ready for a change. At first, I was thinking just a simple refresh but that quickly turned into a full floor-to-ceiling renovation that consumed my entire summer.
Looking back, it’s still project that I am very proud of. It taught me about the little details of craftsmanship, patience, and creating my very own safe space. I also learned that I can, in fact, operate a table saw… so you can go ahead and add carpenter to my résumé.
I wanted a fresh start, so I took the room down to its bare bones.
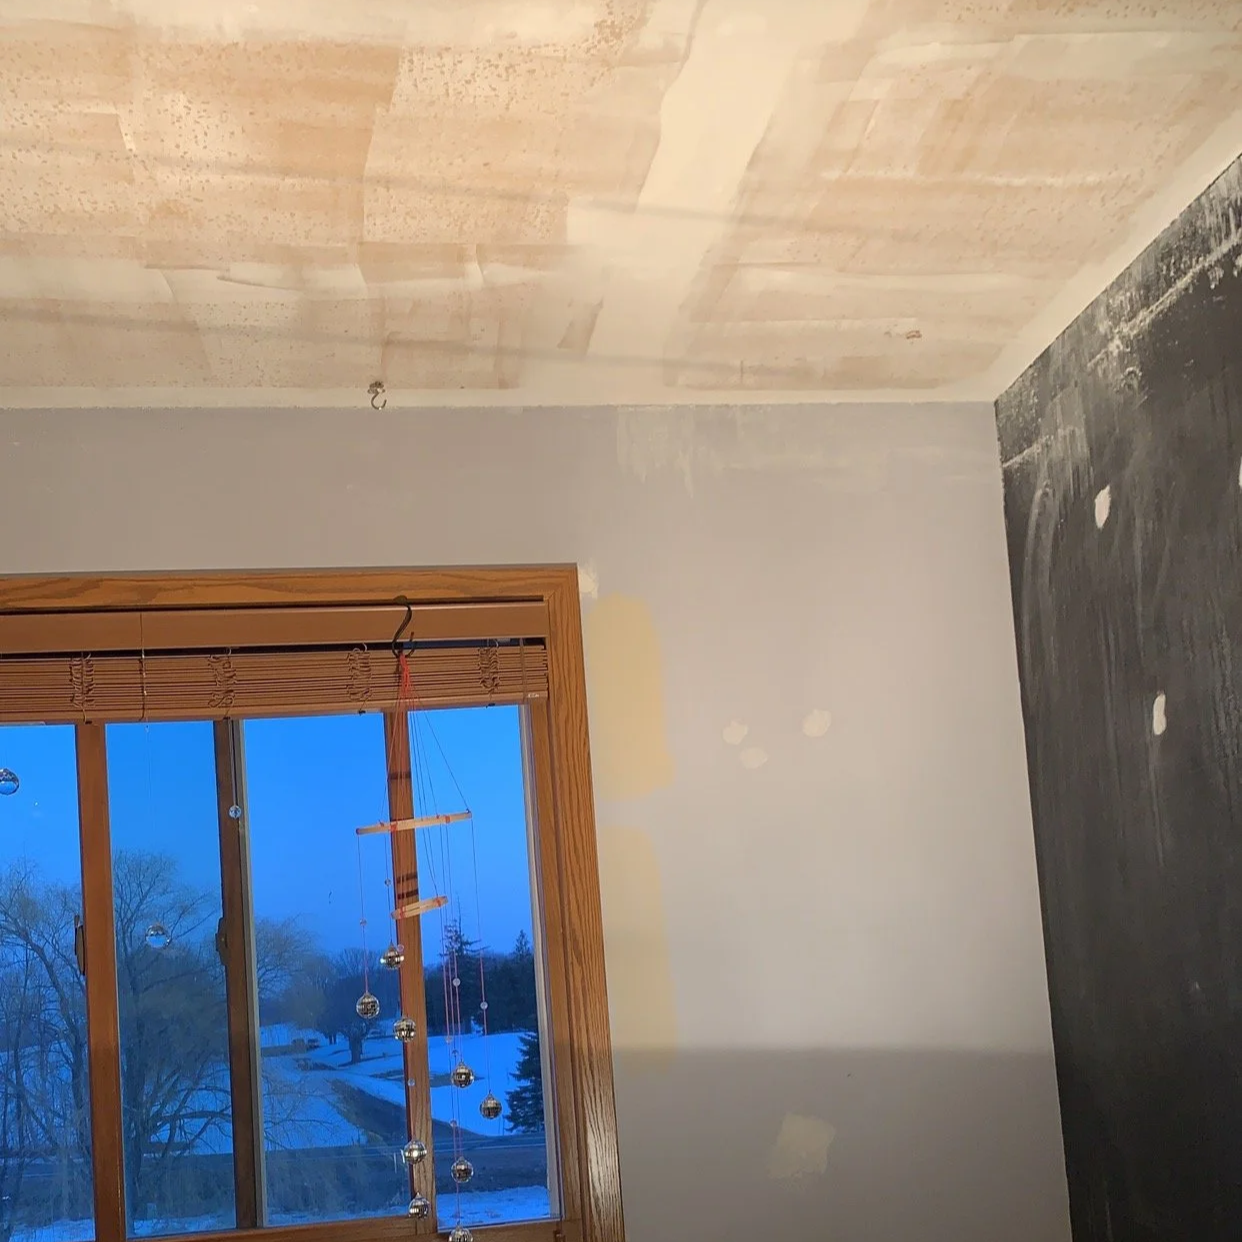
Starting From Scratch
It was demo day! I took everything out of my room and made a to-do list:
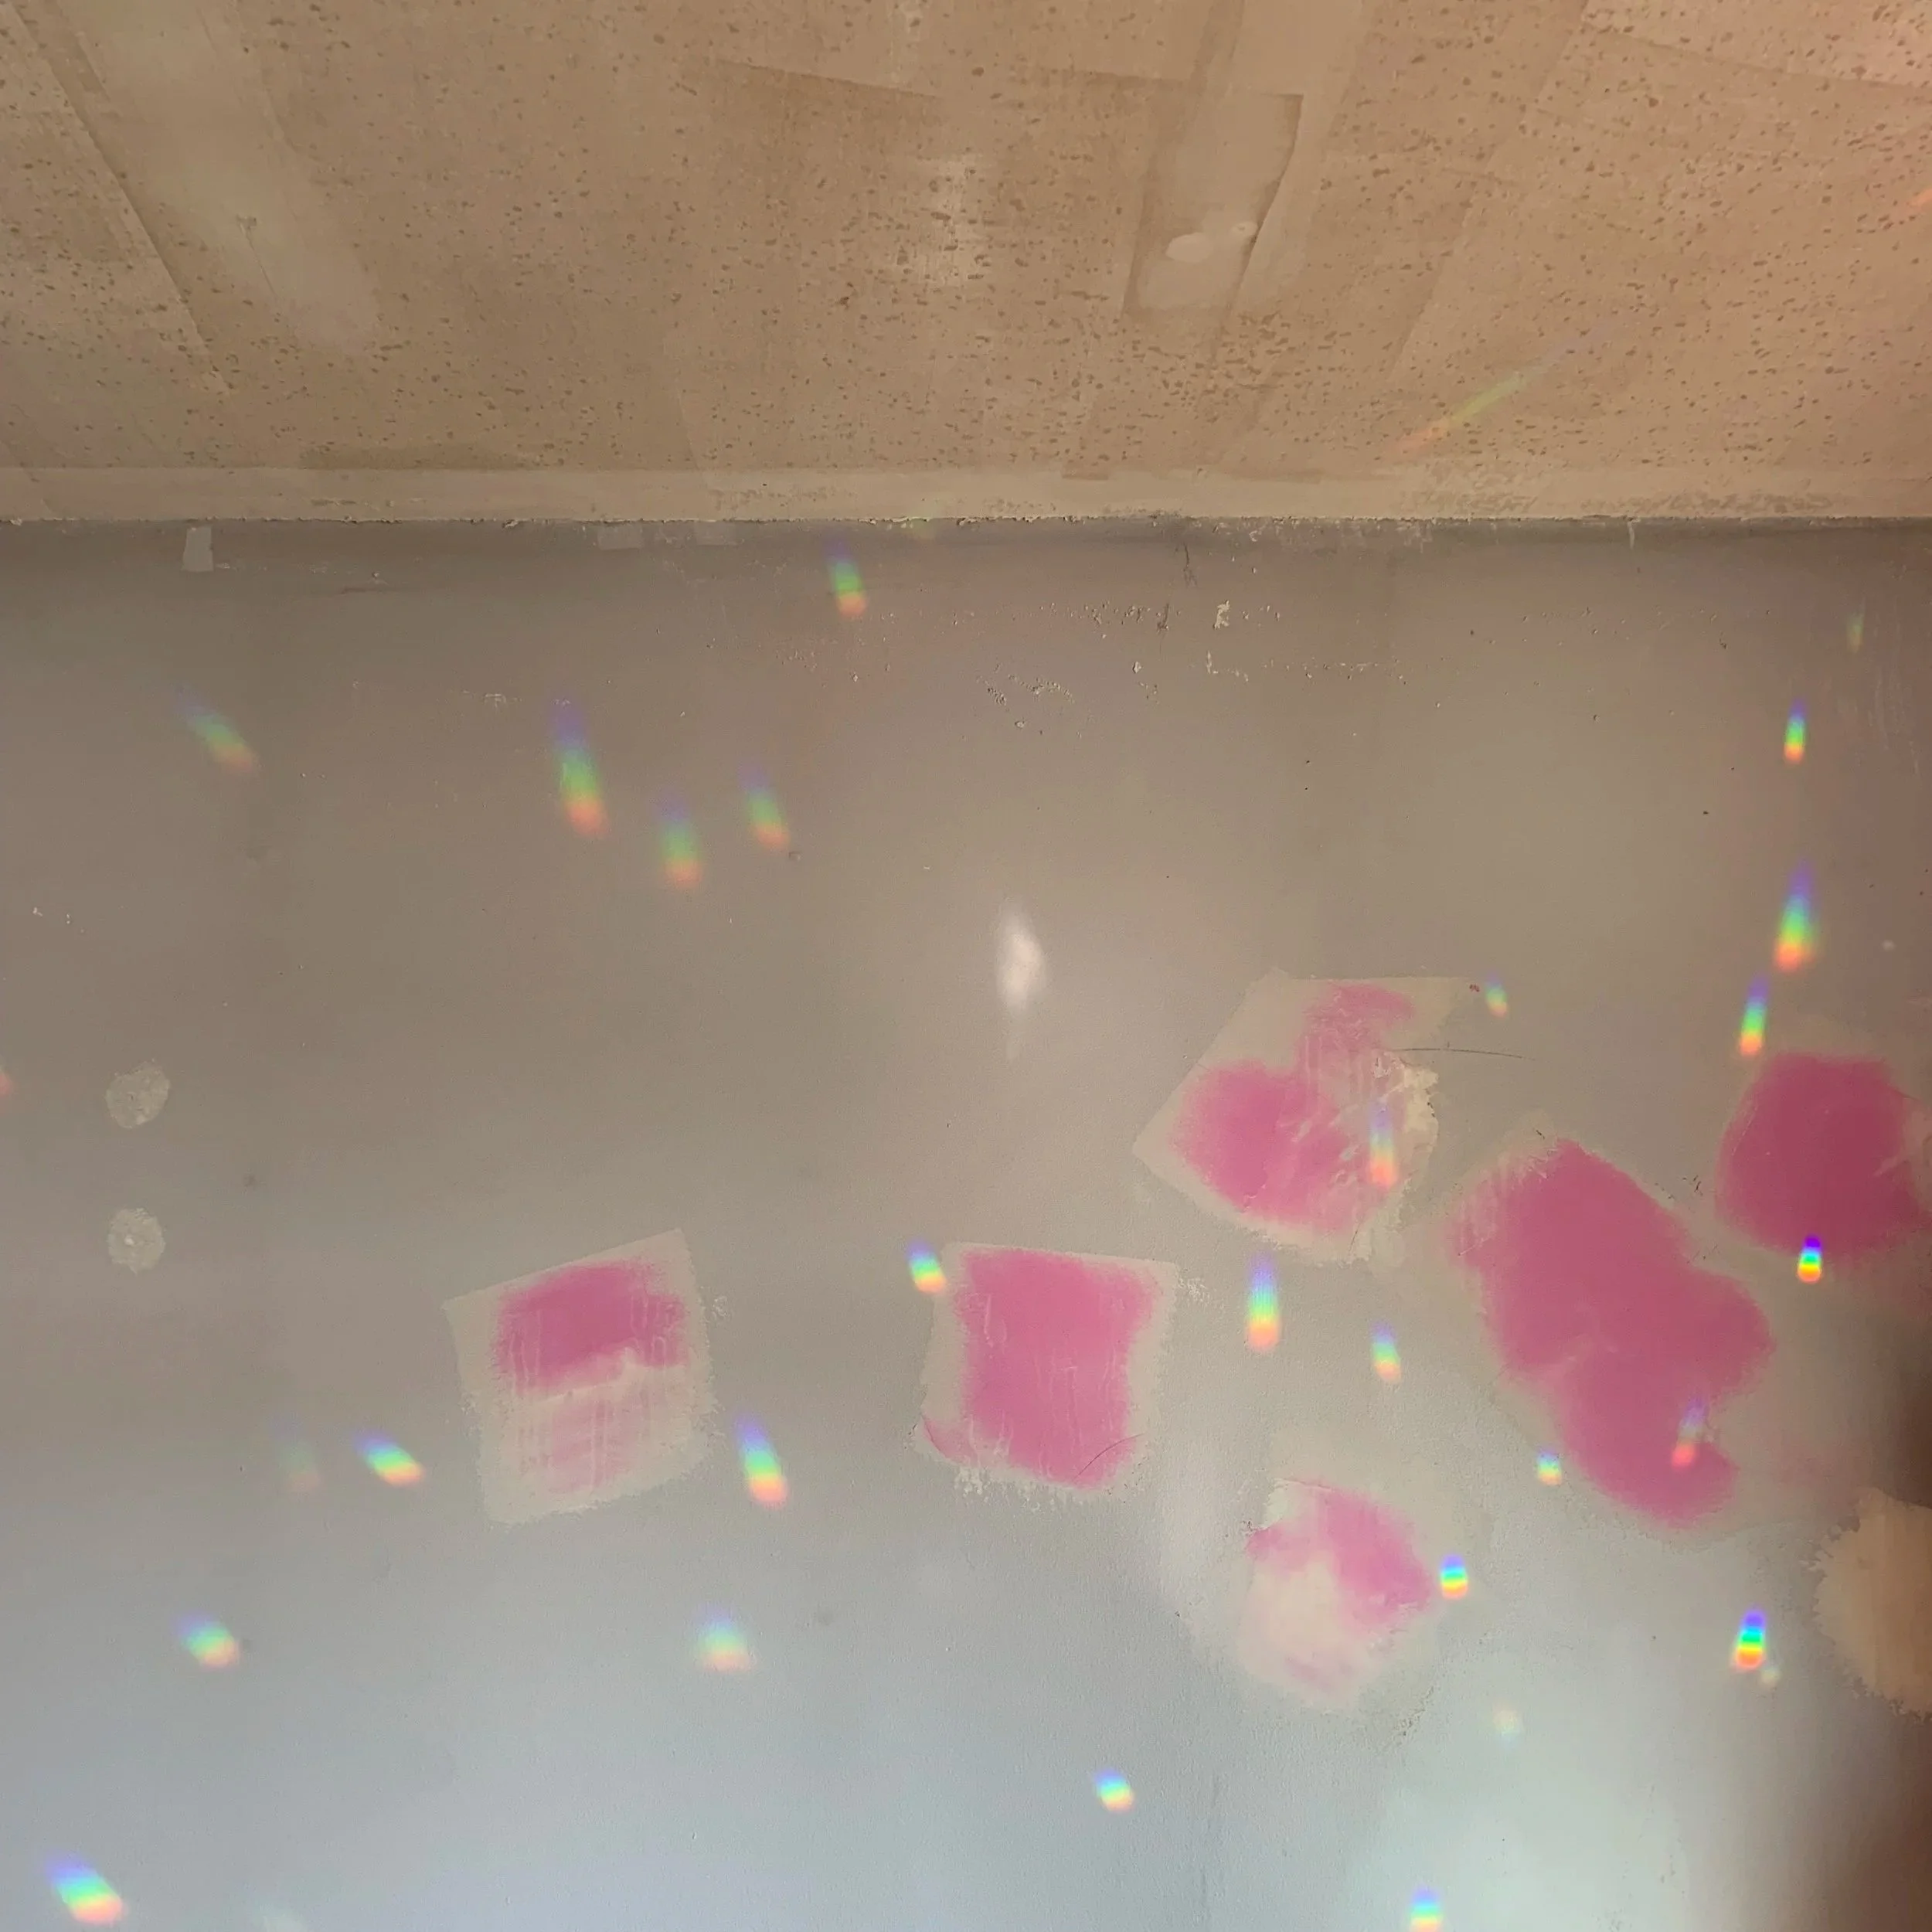
Scrape every inch of popcorn ceiling
Patch dents and holes in the walls
Remove the old carpet
I often get asked if removing popcorn ceilings is difficult. Honestly, it isn't that hard. It's just incredibly messy and a little bit tedious.
All you have to do is spray the ceiling with water and scrape. If the popcorn ceiling has been painted, that's a whole different story and much more challenging. Luckily, mine hadn't been painted, so it came down fairly easy.
Once the ceiling was scraped, I had to go back and spackle areas that weren't completely smooth. After that came sanding, which created a nice layer of dust over absolutely everything. Good thing I removed the carpet after this step. The goal was to create a flat, smooth surface that was ready for paint.
The entire process took a few hours a day for three days straight and resulted in a sore neck from constantly looking up and tired arms from working overhead. Highly recommend wearing goggles to keep the dust out of your eyes.
Eventually, both the ceiling and walls were smooth, clean, and ready for the crown molding.
Before removing the carpet, I had to pull off all of the trim around the floor. Honestly, ripping out the carpet was pretty satisfying. Thirteen years of dust, dander, and who knows what else had been collecting in there, and it was finally gone.
I swear I could feel the air quality improve instantly. The room already felt fresher, and I hadn't even started putting it back together yet.
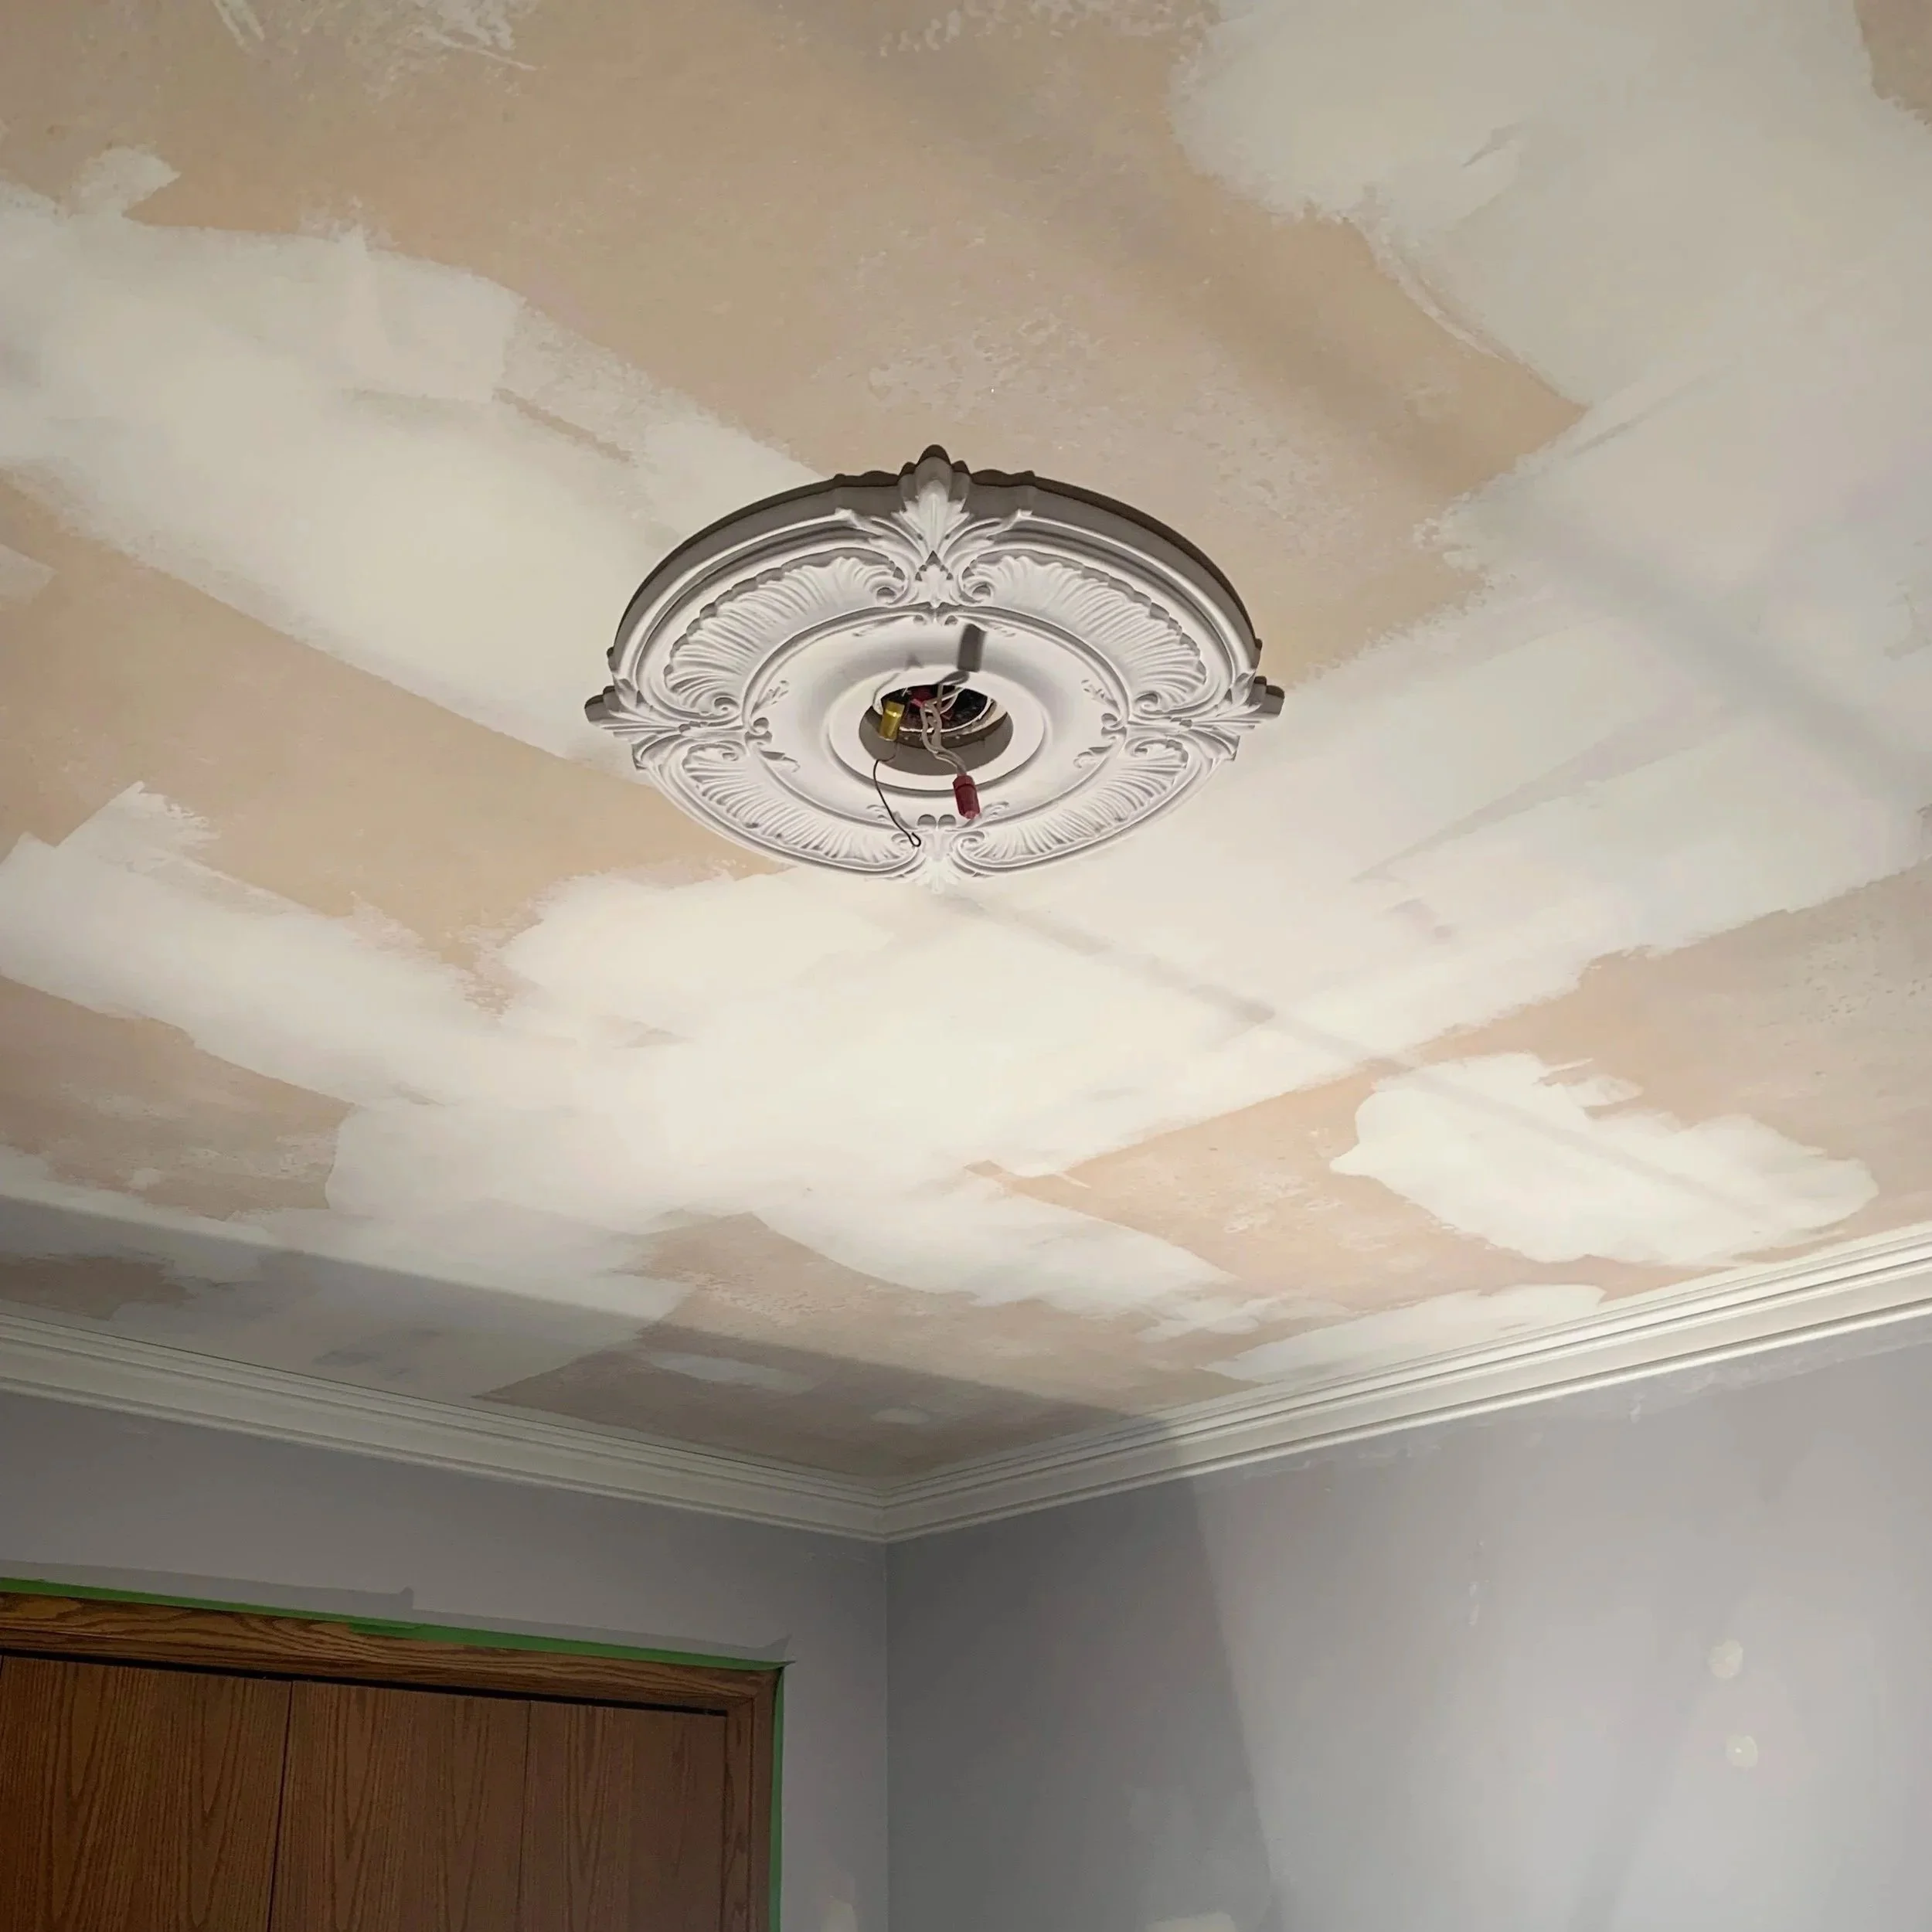
The Details That Changed Everything
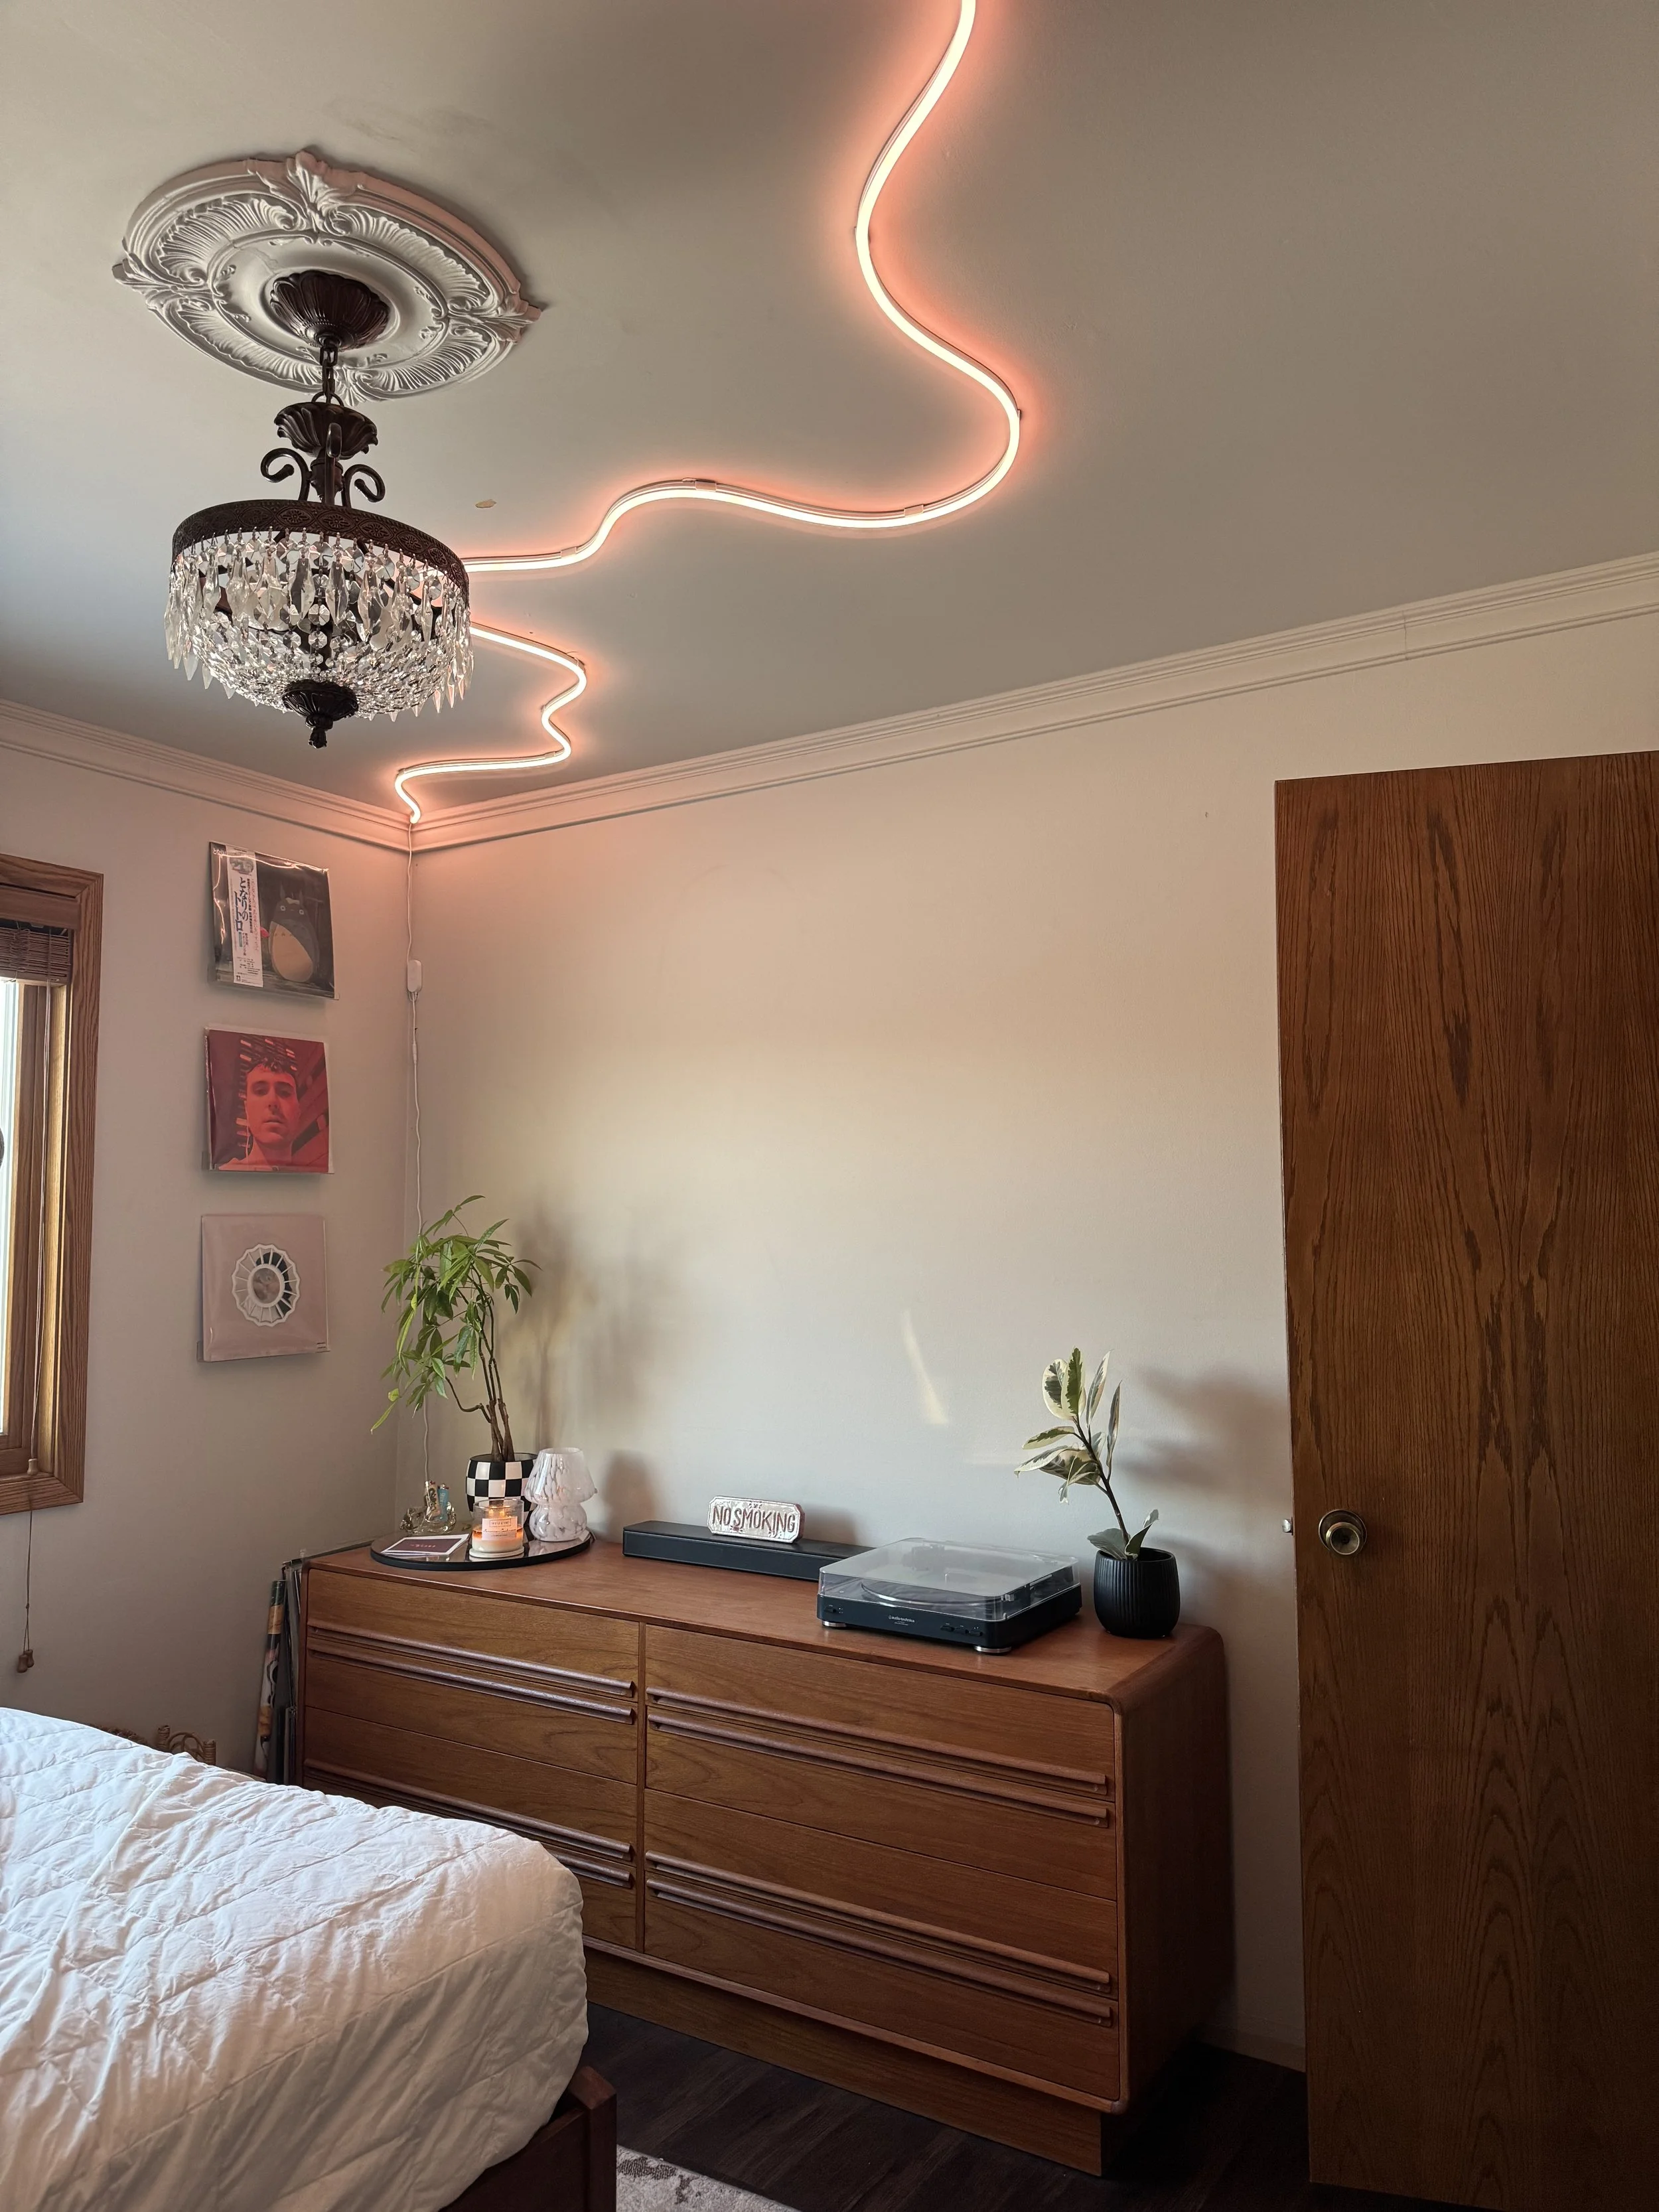
Before painting, I installed a simple crown molding around the perimeter of the room and added a ceiling medallion to frame my chandelier.
These details are subtle, but I knew they would make the space feel more intentional and finished.
During this process, I also learned how to cut trim for corners. Out came the table saw and all that jazz. There was definitely some trial and error, but it was one of those moments were figuring it out felt just as rewarding as finishing it. Honestly, it felt like a giant 3D puzzle. Measure, cut, realize it's backwards, cut again, and somehow, eventually, everything clicked into place.
I also replaced all of the electrical outlets and covers, with the help of my dad of course. Since I was going with a soft, light neutral palette, I didn’t love the idea of off-white outlets sticking out like an afterthought. So, I switched to black outlets and covers for a bit of contrast and a cleaner look.
To keep the flow, I used the same trim material as the baseboard around the new flooring. The only original trim that stayed was around the doors, windows, and closet.
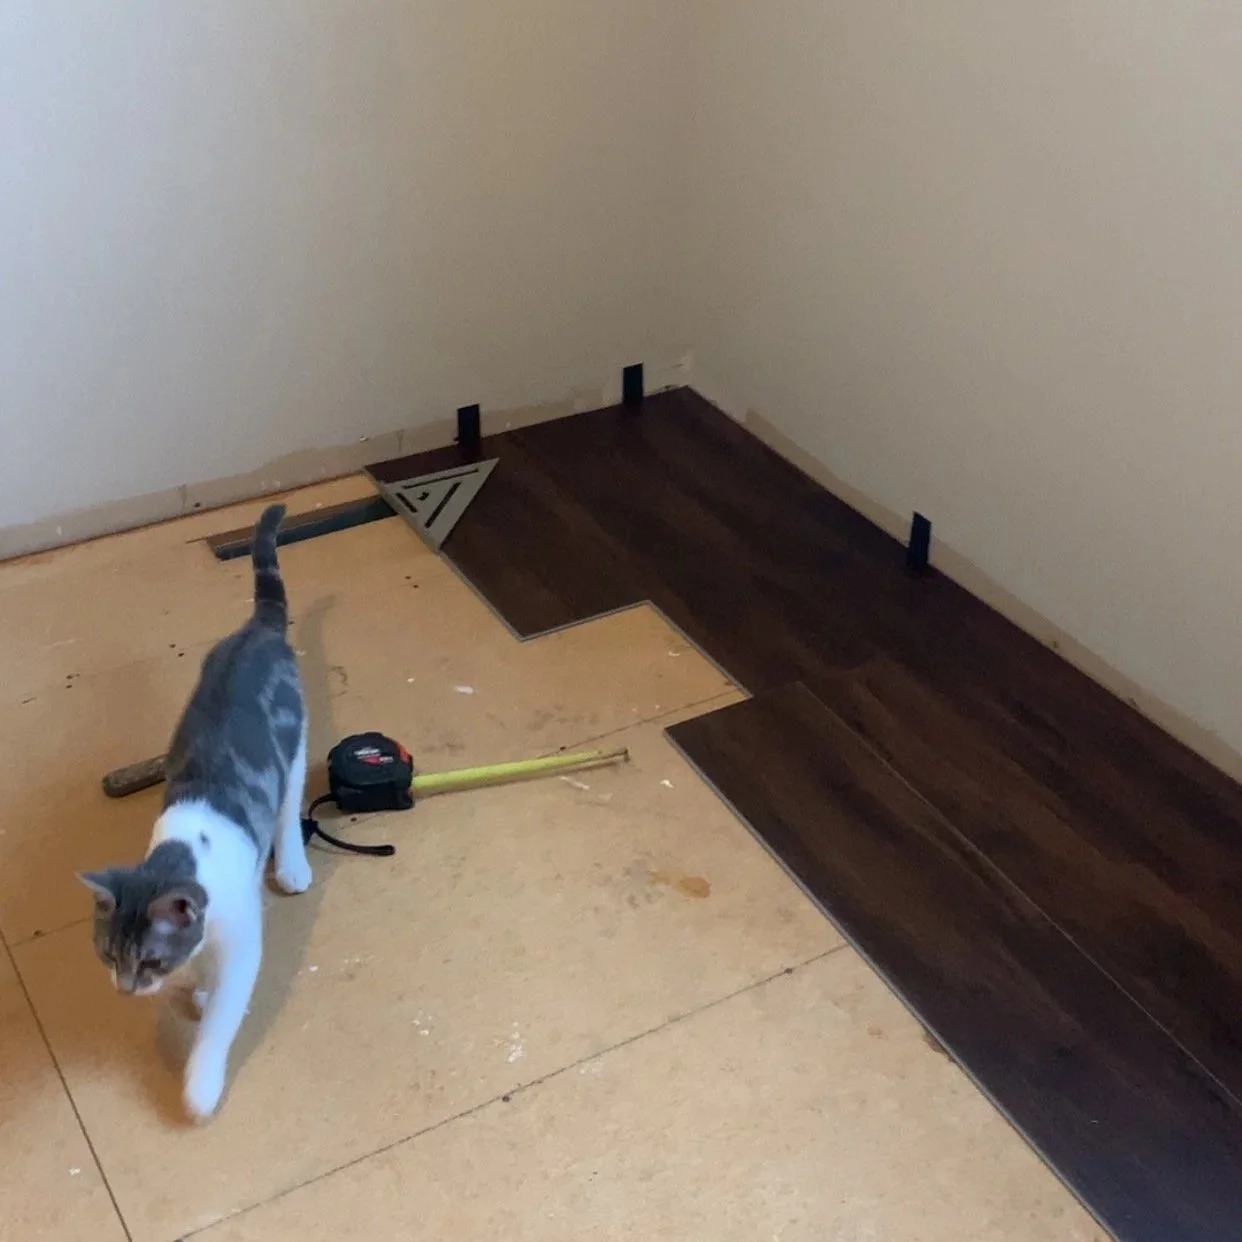
Flooring: A Lesson in Math I Didn’t Ask For
To finish the space, I installed LVP (luxury vinyl plank) flooring entirely by myself. I think it took me three to four hours. This was also tedious, my hands and knees were sore after, but every bit of that sweat equity made the room feel even more personal.
Before laying a single plank, I had to do something I never thought I’d enjoy… math. And if you know me, you know that’s not my natural habitat.
My bedroom is 11’ x 12’, which equals 132 square feet. I also accounted for the closet (about 2’ x 6’), adding another 12 square feet. That brought the total to roughly 144 square feet.
I added a 10% buffer for cuts and mistakes, which brought me to about 158 square feet total.
The LVP I chose was the Bralton Oak Click Lock Waterproof Luxury Vinyl Plank from The Home Decorators Collection at Home Depot covers about 23.77 square feet per box.
15 ÷ 23.77 = 6.64 boxes
Since you can’t buy partial boxes, I went with 7 boxes.
At about $60 per case, the flooring came to roughly $420. I also kept extra planks for future repairs… because I refuse to tempt fate.
One final decision remained: Direction.
The orientation of flooring can completely change how a room feels. Depending on how it's laid, a space can appear longer, wider, or more cohesive. I also had to consider the transition from the carpet in the hallway into the bedroom. I wanted the flooring to flow naturally and feel intentional from the moment you walked through the door.
It's one of those small design decisions that most people probably don't think about, but it can make a surprisingly big difference in how a room is experienced.
What is Color Drenching?
At the time, I was completely captivated by French interiors and the idea of color drenching, so I fully committed. I also wanted the room to feel like I lived somewhere in Europe. Even if it was just my bedroom.
Color drenching is when you paint the walls, trim, and ceiling all the same color. I used Taupe of the Morning by Sherwin-Williams in a matte finish.
Instead of creating contrast, the room becomes unified in a single shade, allowing light, shadow, and texture to do the work.
One of the unexpected perks? I didn’t have to tape off or cut in since everything was the same color. The only areas that needed to be taped off were around the windows, doors, and closet trim.
Some people might think it looks like the “landlord special,” but when it’s intentional, it’s a completely different story. The result is cozy, clean, and a little dramatic in the best way.
The crown molding and ceiling medallion actually stood out more because they’re defined by shadow instead of color contrast.
A Moment for the Furniture
I also invested in a Mid-Century Modern Lowboy Credenza. (as seen in the picture above) She is made of teak and from Norway. Originally priced around $3,000 but I found it on Facebook Marketplace in perfect condition for $600.
She is my prized possession! I love her soft edges, the dimension in the wood grain, and the simplicity of the drawer pulls. I’s one of those pieces that feels calm but still full of character.
Because I love the Mid-Century Modern look, of course I also added a matching bed frame. That piece came from Amazon, but the two together pair perfectly. They tie the room together in a way that feels cohesive, and just a little bit curated. Together they look like they were always meant to live in the same space.
Lighting
The chandelier is from Menards (Go find it!! She’s worth it). It might be a bit of a pain in the butt to clean since you have to remove each crystal individually, but its sparkle became one of the main focal points of the room. It’s eye-catching in the best way, and I think it ties everything together with just the right amount of presence.
For some accent lighting, I added a 16 ft LED strip light from Amazon. It’s actually a pretty cool setup. You can connect it to an app, choose from multiple color options, and control it right from your phone. The lights can even sync to music, and I sure do love my music.
It can give the room a soft, subtle evening glow… or a full-on rave. Whatever you’re in the mood for!
Total Project Cost
Crown Molding (Home Depot) – $118.46
Ceiling Medallion (Home Depot) – $33.10
Primer & Spackling (Menards) – $22.05
Outlets & Covers (Menards) – $9.87
LVP Flooring (Home Depot) (7 boxes @ ~$60) – $420.00
Sherwin-Williams Emerald Designer Paint (2 gallons) – $144.26
MCM Teak Credenza – $600.00
LED strip lights (Amazon) (2 @ $99.99) – $199.98
MCM Bedframe (Amazon) – $329.99
Total Project Cost: $1,877.71
What I Would Do Differently
As much as I still love this room, there are a few things I would change if I were starting over today.
I might have been a little bolder with the color. While I still adore Taupe of the Morning, I now find myself gravitating toward richer, moodier shades. That's the beautiful thing about design. It evolves as we do. And paint is one of the easiest ways to evolve a space with it.
And perhaps the biggest lesson I learned? I should trust my gut. My first instinct.
Although throughout the project, I never questioned my decisions. I knew what I wanted it to look like and just went for it. Color drenching didn’t seem boring or too risky. All black hardware wasn’t too dramatic; it was sleek and created contrast. All these details mattered to me.
If anything… maybe I would tell myself not to spend quite so much money next time.
Most importantly, I see a space I created with my own two hands. Whenever someone new sees my room, the first thing I say is, “I did all of this.” It’s my safe space and a reminder that sometimes the most meaningful projects are the ones we build for ourselves.
xoxo
Lilianna
